

Mark and describe
Mark what should change, and say what it becomes
Marking is how you say which part of the photo to change: you outline an area with the rectangle, lasso or marker tool and write a note for it. Without a style, everything you didn't mark stays as it was; with one, the whole room is restyled and each area still follows its note.
- Area 1Green velvet sofa
- Area 2Light oak floor
Key facts
- Mark and describe
- Rectangle, lasso and marker tools outline the areas to change; each area gets its own note.
- Reference photos
- A photo attached to an area shows the material, color or piece you mean. Up to 5 in one version.
- Phones and tablets
- Mark areas and brush a Refine with a finger or a stylus; pinch to zoom and drag with two fingers to move around the photo. It runs in the browser, with nothing to install.
- Cost of a version
- 1 credit. Packs start at $9 for 30 credits, down to $0.16 a credit
- Time per version
- Usually about a minute
What it does
An area is an outline on your photo plus a note in plain English: “sage green walls”, “wide light oak boards”, “green velvet three-seater”. A photo can carry one area or many, and each one keeps its own note, its own number and its own color on the canvas.
What an outline decides depends on whether you pick a style with it. Without a style, everything outside every area comes back from your photo, so the window light, the floor you liked and the corner of the room you never mentioned stay as they were. With a style the whole room is restyled, and the outlines still decide what each area becomes. That is the difference between a directed edit and a generated room.
Each area also carries an action, so the note is read the right way: change color, replace material, add item, remove item, restyle, or custom when none of those fit. If a word won't do it, attach a reference photo to the area and the model is shown the material or the piece you mean.
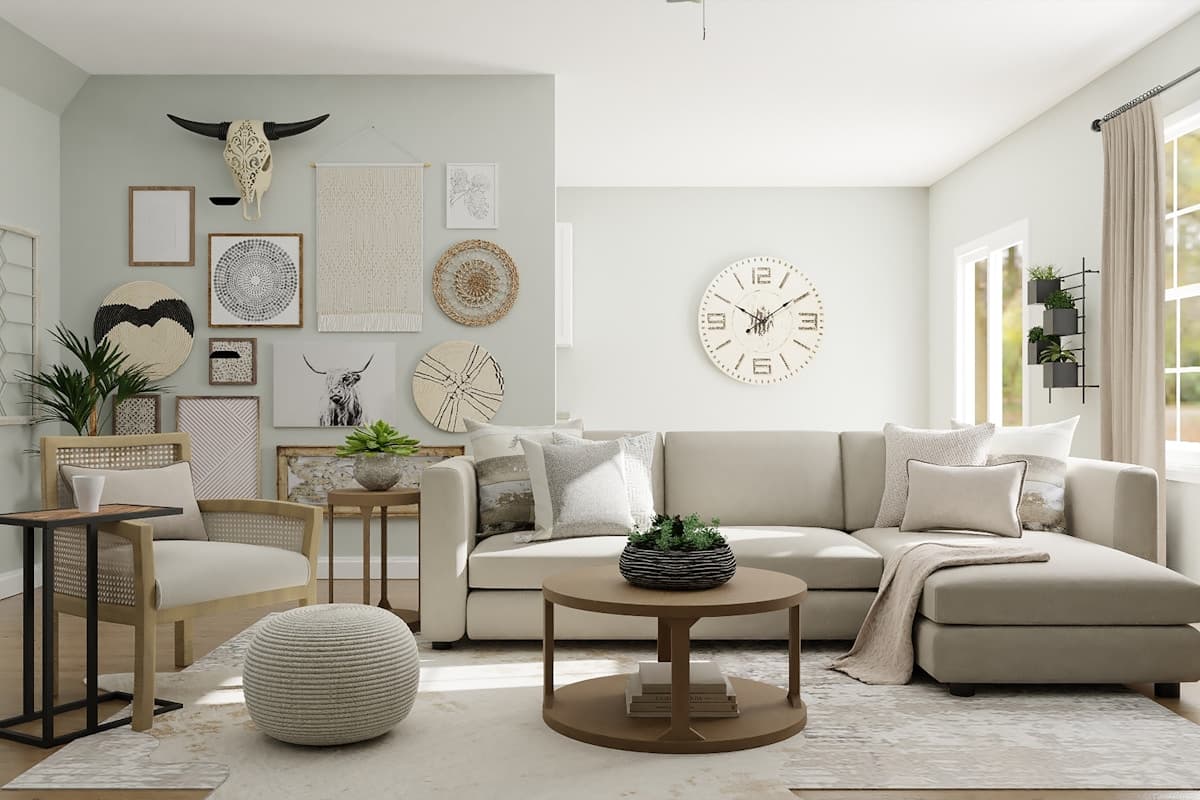
In the sample room at the top of this page, the sofa was lassoed and the floor outlined, each beside the note it was generated from. Every version in the gallery was made from those two marks with a style, so the style did the rest of the room: the walls, the art and the light changed with it. Mark the same two areas without a style and they stay as they were.
How to use it
Open your photo in the editor
Upload a room photo, or open a project you already started. The photo fills the canvas and the drawing tools sit beside it.
Pick the tool that fits the shape
Rectangle for a wall, a window or a floor. Lasso for something with an outline of its own, like a sofa. Marker to point at a small object instead of tracing it.
Write what the area should become
Describe the result, not the thing that is there now: “matte charcoal paint”, not “the beige wall”. Name the color, the material and the finish if you know them.
Mark the next area, then generate
Every area you add is listed beside the canvas with its number, so you can re-read a note, edit it, or delete the area and draw it again. Then generate: all the areas go in one run, and without a style the result keeps everything you didn't mark.
What it can't do
Worth knowing before you spend a credit on it.
- An outline is a guide, not a cut-out. The model works slightly past the edge so the change meets the room naturally, so a mark drawn across a neighboring surface can change that too.
- A note describes a material, a color or a piece. It can't give a measurement: “a wider doorway” has no size the model can read.
- A small area in a large photo has few pixels to work with. Mark it generously, or take the photo closer.
- Color on a screen is an approximation. Hold a real sample in the room's own light before you buy paint or flooring.
Questions about Mark and describe
What happens to the parts I didn't mark?
Without a style, they come back from your original photo. With a style they don't: a style restyles the whole room, so the unmarked parts change with it while each marked area still follows its note.
Do I have to mark anything?
No. You can write one instruction for the whole room instead, or pick a style and generate. Marking is what you use when you want one part changed and the rest kept.
Can I change a mark after I've drawn it?
Yes. Each area in the list beside the canvas can have its note edited or be deleted, and you can draw the outline again if it came out wrong. Nothing is charged until you generate.
What should I write in a note?
The shortest description that would let a shop find the thing: color, material, finish, and the piece itself. “Dark green velvet three-seater with wooden legs” gives the model more to work with than “nicer sofa”.
Does marking work on a phone?
Yes. You can mark areas with your finger or a stylus on phones and tablets: pinch to zoom, and drag with two fingers to move around the photo. Uploading, making and refining versions, and comparing them all work there too, in the browser, with nothing to install.
Read on
- Style presetsRestyle the whole room from 20 interior styles, or write your own.
- RefineBrush over one part of a version and redo just that part.
- Compare and sharePut the result beside the original, then send a link.
- How it worksThe whole walkthrough, from the photo to the share link.
- ExamplesBefore and afters made with Interify.
Try it on the sample room
No account needed to see how it works. Your own photo starts with 3 credits free and no card.