

Visualize
Lighting visualizer for your own room photo
To preview lighting in your own room, photograph the space, mark where the fixture would go, and describe the fixture, its material and its size. Interify shows that fixture in your room, though the preview keeps the light your photo already had.
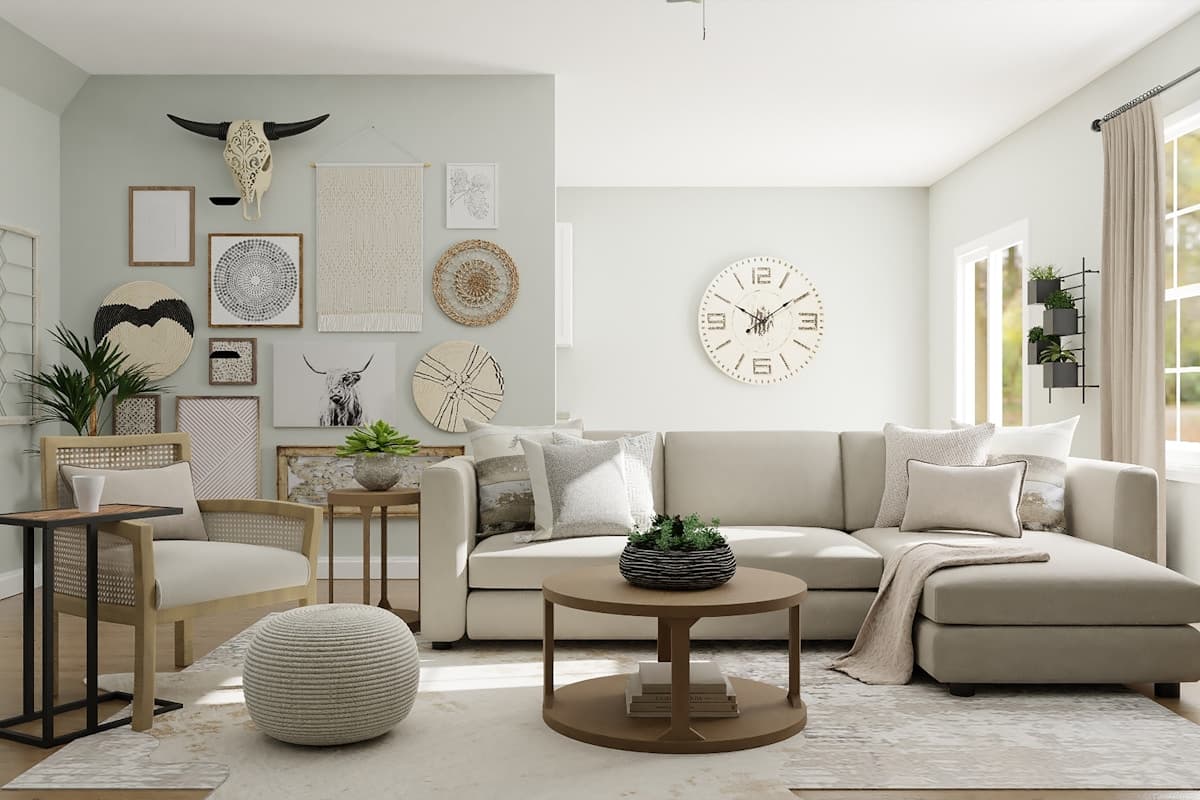
- Reading cornerAdd an arched floor lamp in black reaching over the armchair
Key facts
- Mark and describe
- Rectangle, lasso and marker tools outline the areas to change; each area gets its own note.
- Refine
- Brush over one part of a result to regenerate just that part.
- Cost of a version
- 1 credit. Packs start at $9 for 30 credits, down to $0.16 a credit
- Output
- HD results, up to 3072 px
How to do it in Interify
Include the ceiling or the wall you mean
Frame the shot so there is room above the table or beside the mirror. A fixture can't be previewed in space that isn't in the photo.
Mark the position
Use the lasso or marker on the existing fixture and set the action to Custom to replace it, or on the empty spot with Add item to put a new one there.
Describe the fixture and its size
Say the type, the shade material and color, the metal finish and roughly how wide it should be relative to what is below it.
Say how low it should hang
For a pendant over a table, say that it hangs low over the center; for an entry, that nothing should hang into the walkway.
Refine the fixture if the shape is off
Small objects against a ceiling are where results wobble. Brush over the fixture and run Refine on it alone rather than regenerating the room.
Notes you can copy
Each marked area carries its own note. Copy one of these and change the words that don't fit your room.
- Above the table
- Wide linen drum shade hung low over the center of the table
- Ceiling
- Flush opal glass ceiling light, brushed brass trim, nothing hanging low
- Beside the mirror
- Two slim wall lights either side of the mirror at eye height
- Reading corner
- Add an arched floor lamp in black reaching over the armchair
- Over the island
- Three small dome pendants in matte black, evenly spaced along the island
- Side table
- Add a ceramic table lamp with a cream linen shade
Photographing the room
The photo decides how much of the result looks like your room.
- Shoot in daylight with the fixtures off, so the room's colors are honest and the new fixture is easy to see.
- Keep the camera upright. Tilting up to catch the ceiling distorts the room and the fixture with it.
- Leave headroom above tables and islands in the frame, or there is nowhere for a pendant to hang.
- Include whatever the fixture relates to: the table, the mirror, the chair. Scale is relative.
- Take a second, wider shot if you want to judge a fixture against the whole room rather than its corner.
Layers, not a single ceiling light
One light in the middle of the ceiling lights a room evenly and flatly. The usual advice is three layers: ambient light for the room, task light where you read, cook or work, and accent light on something worth looking at.
A preview is good at where fixtures go and how big they are. Judge placement and scale on screen, and leave brightness to the bulbs and the dimmer.
Scale and height over a table
A pendant over a dining table generally hangs around 30 to 36 inches above the top: low enough to light the table, high enough to see across. Over an island, fixtures are usually spaced evenly and sized against the island's length.
A shade too small for a long table is the most common mistake, and the easiest one to catch in a preview.
Color temperature, which you choose at the shop
Warm light, around 2700 to 3000K, suits living rooms and bedrooms; neutral light, nearer 3500 to 4000K, suits kitchens, bathrooms and workspaces. Mixing temperatures in one room tends to make a space feel unresolved.
No preview can show you this, because it inherits your photo's light. Decide the fixture on screen and the lamp on the box.
Wall lights and the places they solve
Wall lights earn their keep where a floor lamp doesn't fit or a pendant is in the way: beside a bed, flanking a mirror, along a hallway. Beside a mirror they also light a face from both sides, which overhead light never does well.
Mark the wall and try the position. Fixtures beside a mirror at roughly eye height are the standard arrangement.
Dimming and control
The cheapest way to make lighting feel considered is to be able to turn it down. A dimmable circuit, or lamps on a switch, changes a room more than a more expensive fixture would.
This is a wiring and bulb decision rather than a visual one, so take the preview to the electrician and ask about controls separately.
What to expect
What a preview settles, and what it can't.
- A preview keeps the light that was in your photo. It shows the fixture, not the light it would cast, and it won't tell you whether a room will be bright enough.
- It can't model color temperature, dimming or glare. Those come from the lamp you buy and how it is controlled.
- Electrical work is governed by code, especially in bathrooms and above cooktops. A preview is not an installation plan.
- Hanging heights and fixture sizes still need measuring against your ceiling and furniture.
Examples
Made with Interify, each from one photo and the areas marked on it. Switch a card between the original and the result.
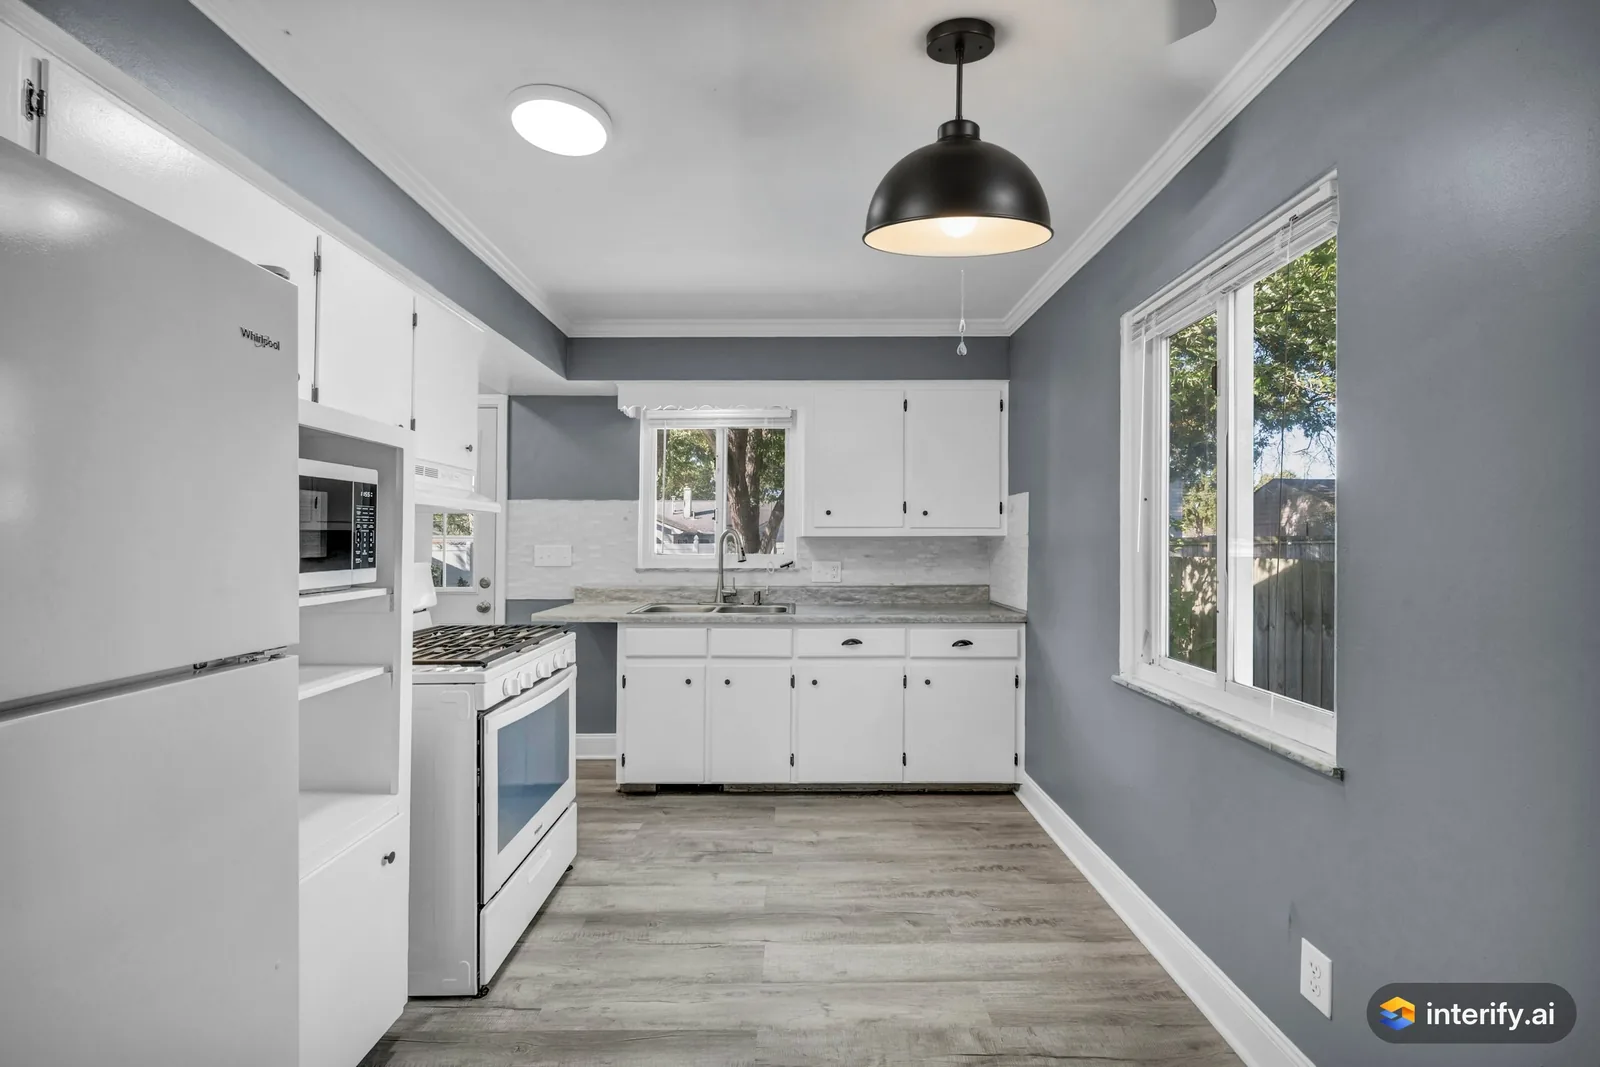
Galley kitchen: pendant light instead of the ceiling fan
Kitchen
- Replace the ceiling fan with a black metal dome pendant light
Made with Interify 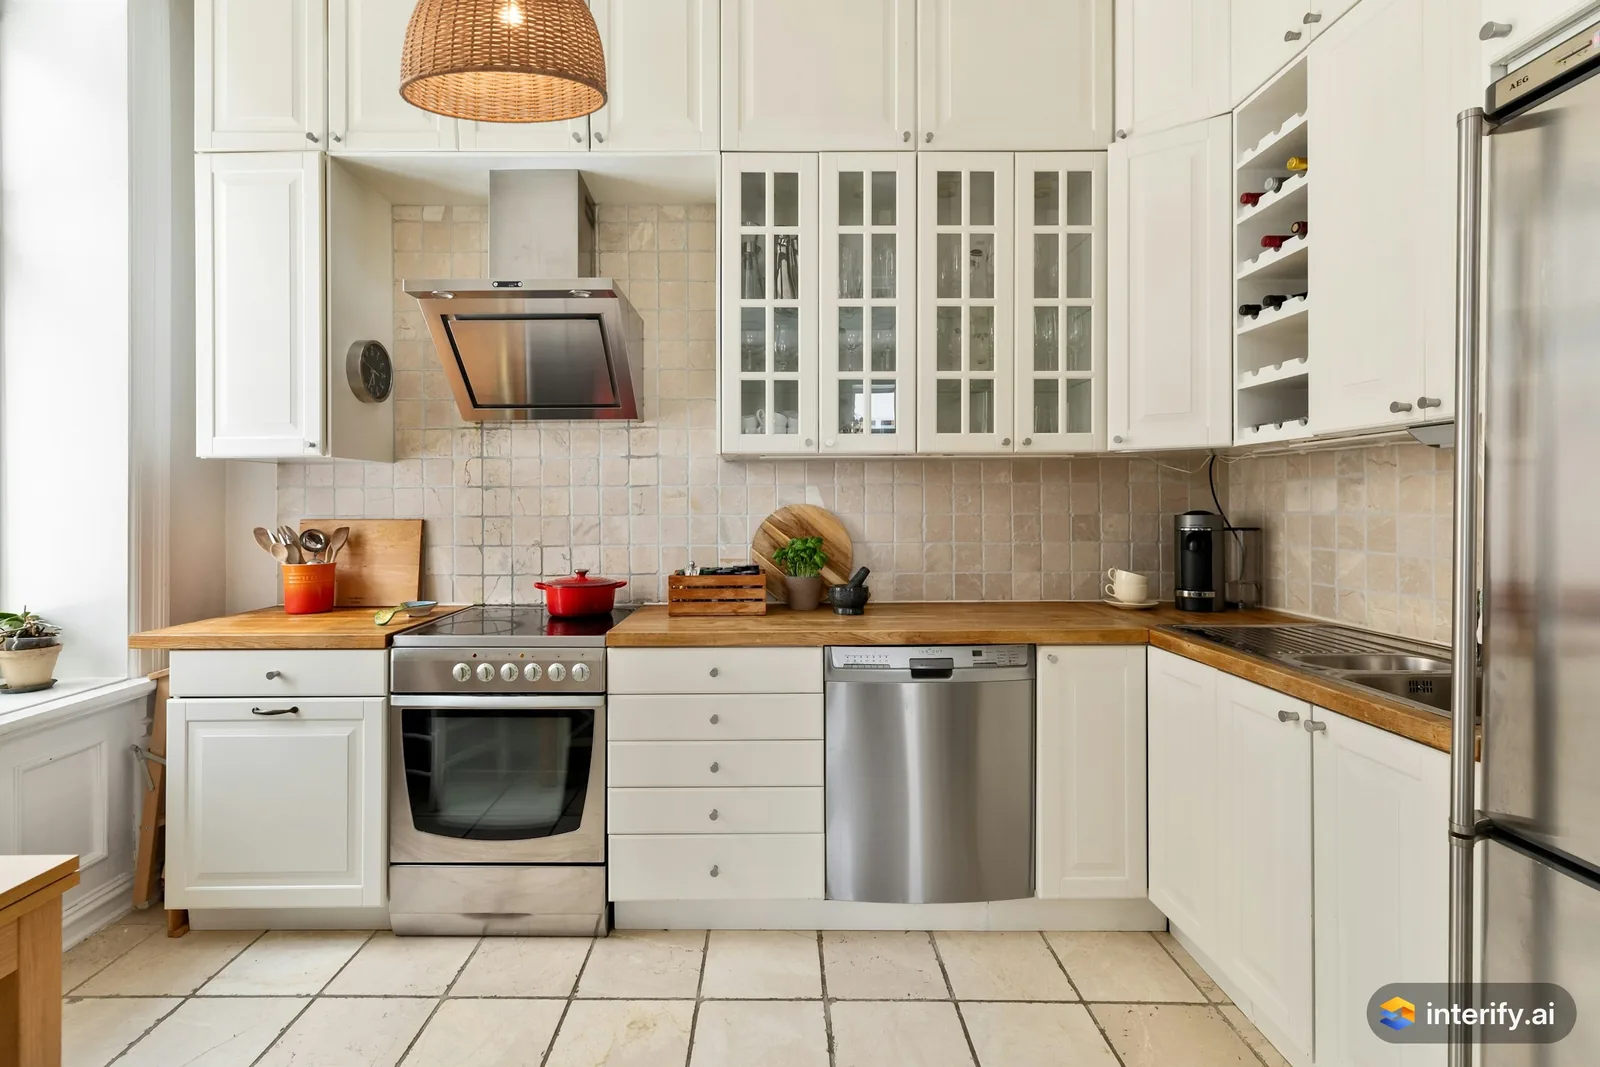
L-shaped kitchen: rattan pendant
Kitchen
- Woven rattan pendant light
Made with Interify 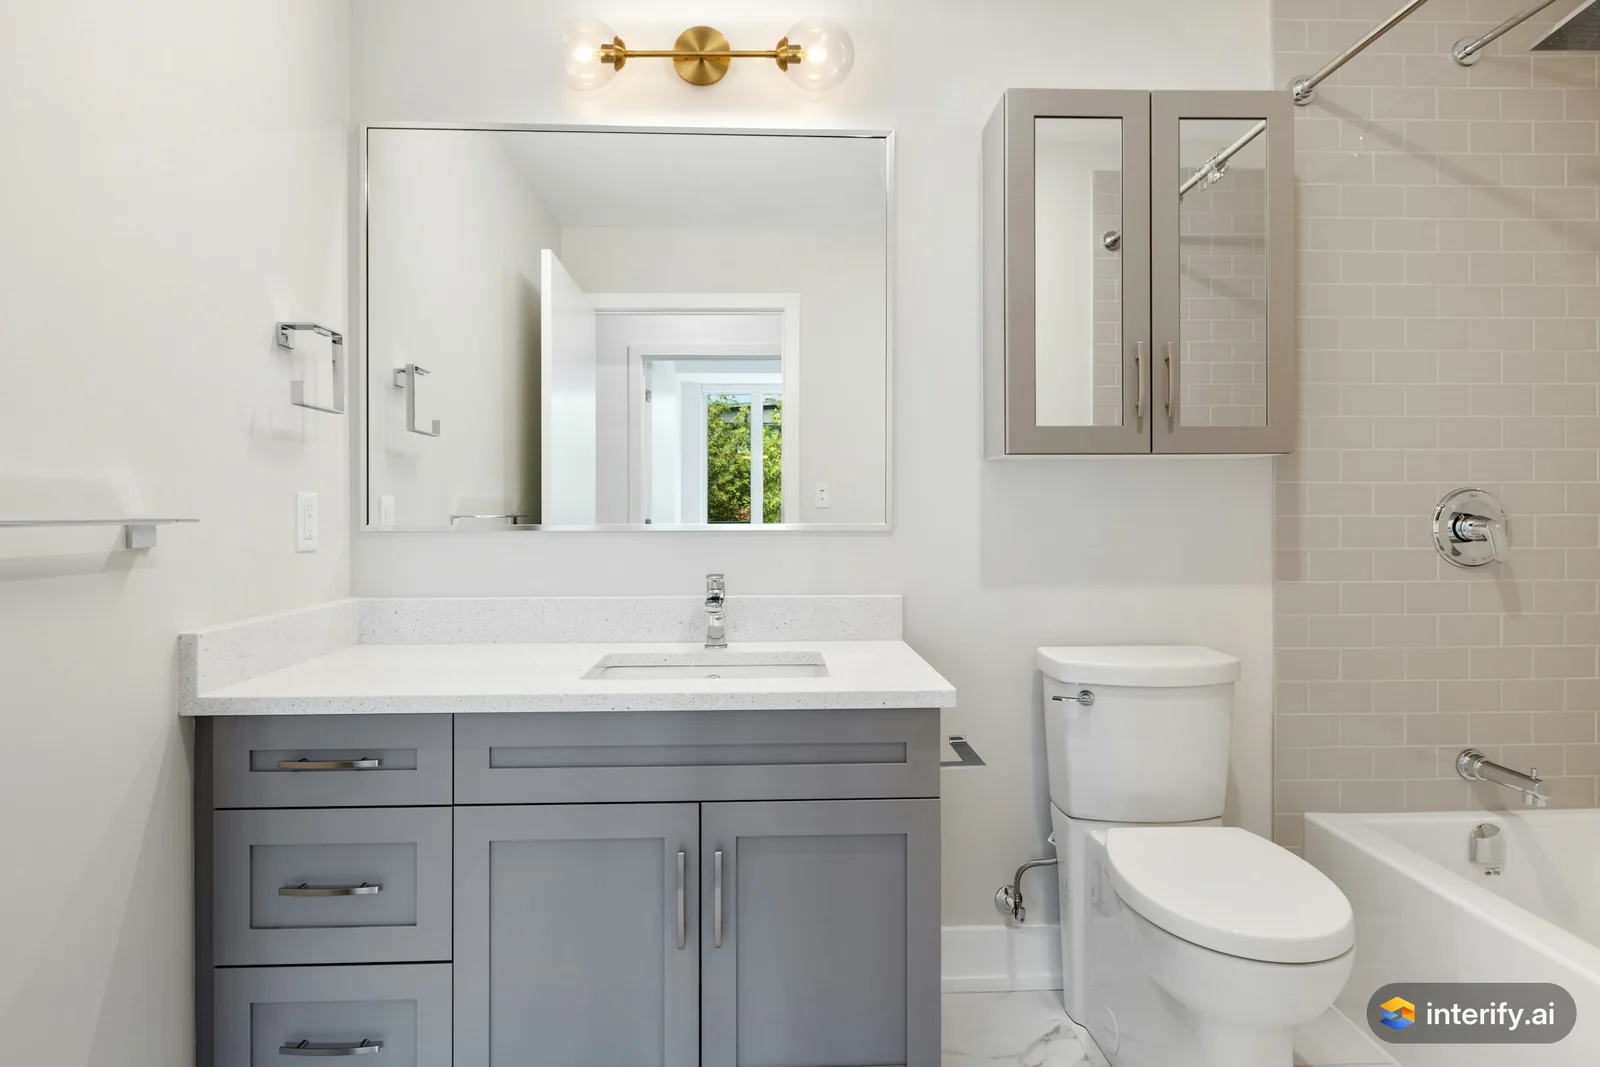
Bathroom: brass wall light
Bathroom
- Brass wall light with two glass globes
Made with Interify 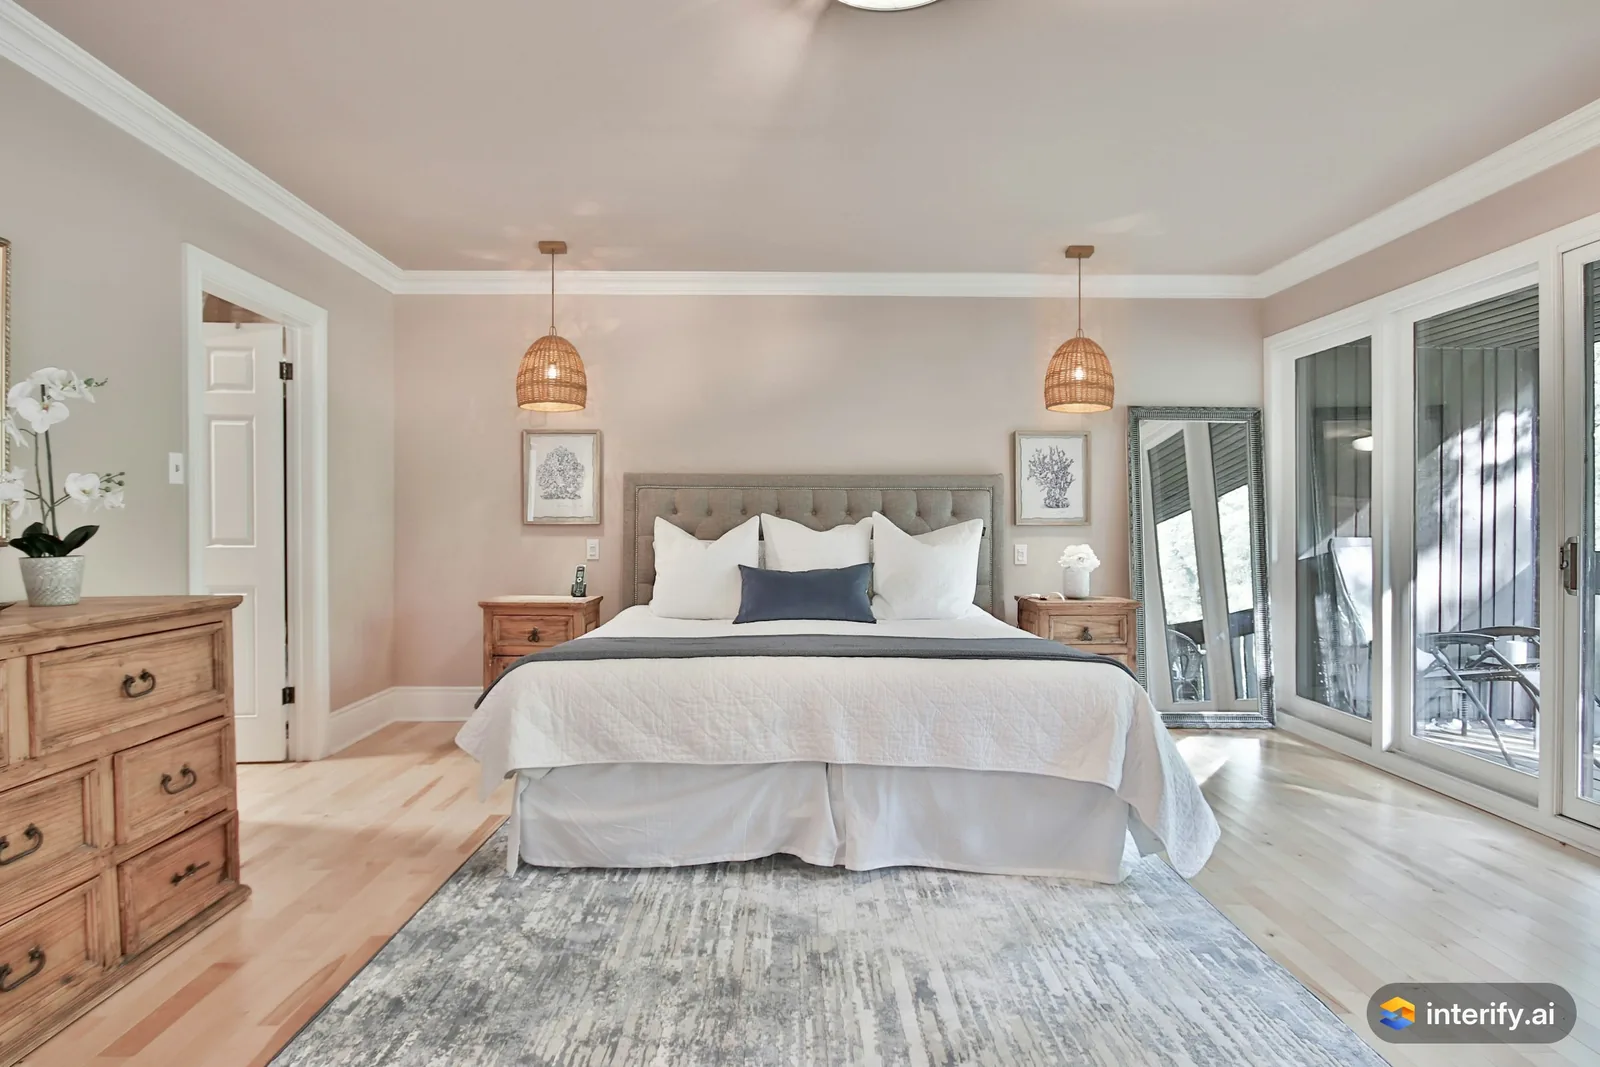
Bedroom: rattan pendants
Bedroom
- Woven rattan pendant light
Made with Interify 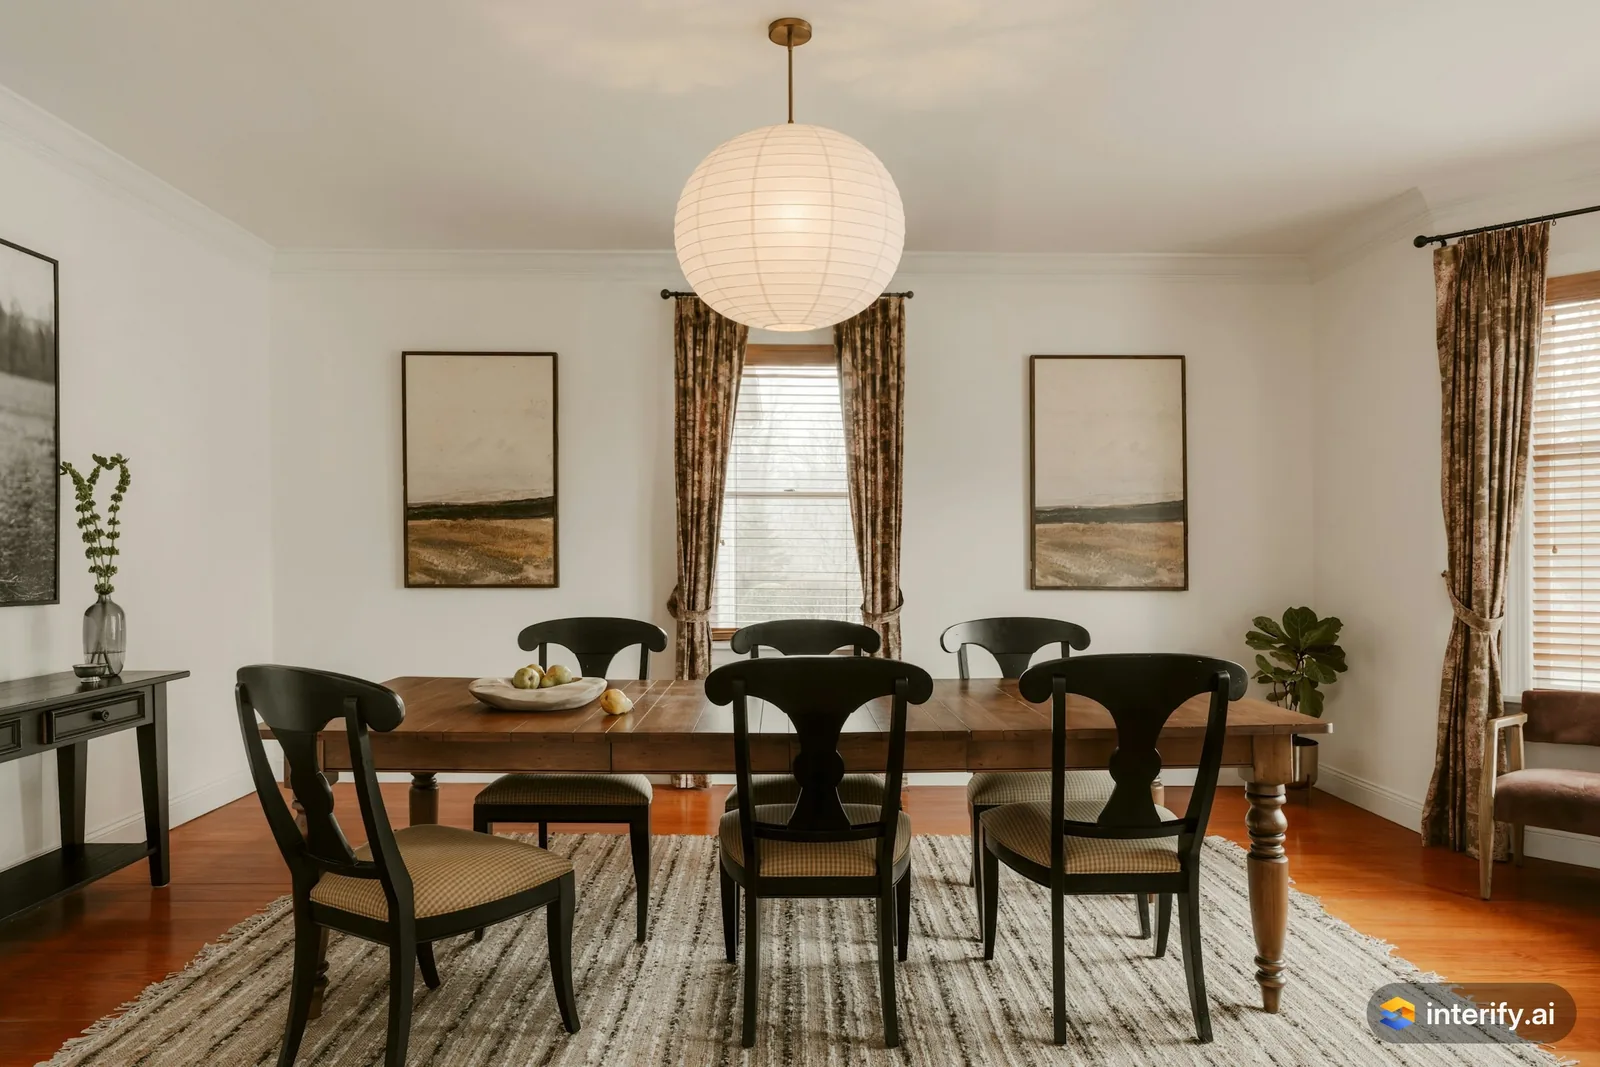
Dining room: paper lantern pendant
Dining room
- Large white paper lantern pendant
Made with Interify
Common questions
Can I preview a light fixture in my room?
Yes. Mark where it goes, set the action to Add item and describe the fixture, its material, finish and size. With no style, the rest of the photo stays as it was.
Will the preview show how bright the room becomes?
No. Previews keep the light that was in your photo, so they show the fixture rather than its output. Brightness comes from the lamp you buy.
Can I see pendants over my kitchen island?
Yes. Mark the space above the island, say how many fixtures you want and how they should be spaced, and keep the island in frame for scale.
Can it help me choose a bulb color?
No. Color temperature is a property of the lamp, not of the photo. Choose it from the packaging, and keep one temperature per room.
Read on
- Dining roomTry dining room ideas in a photo of your own room: mark the walls, the table or the light above it, and see a photorealistic preview of the change.
- BathroomSee a bathroom remodel in your own photo: mark the tile, vanity or fixtures, describe the finish you want, and compare versions side by side.
- Paint colorsA paint color visualizer that uses your own photo: mark the wall and name the color, and with no style the trim and furniture stay as they were.
- FurnitureSee furniture in your own room before you buy: mark where a piece goes, describe it or attach a photo, and judge the scale against your real room.
- Interior designersAgree on a direction with a client in their own room: preview a scheme on their photo, compare options, and share a link they can open on a phone.
- How it worksThe whole walkthrough, from the photo to the share link.
See it in your own room
The sample room needs no account. Your own photo starts with 3 credits free and no card.